-
Xingming Road, Yanyuan, Xingtan, Shunde, Foshan, Guangdong

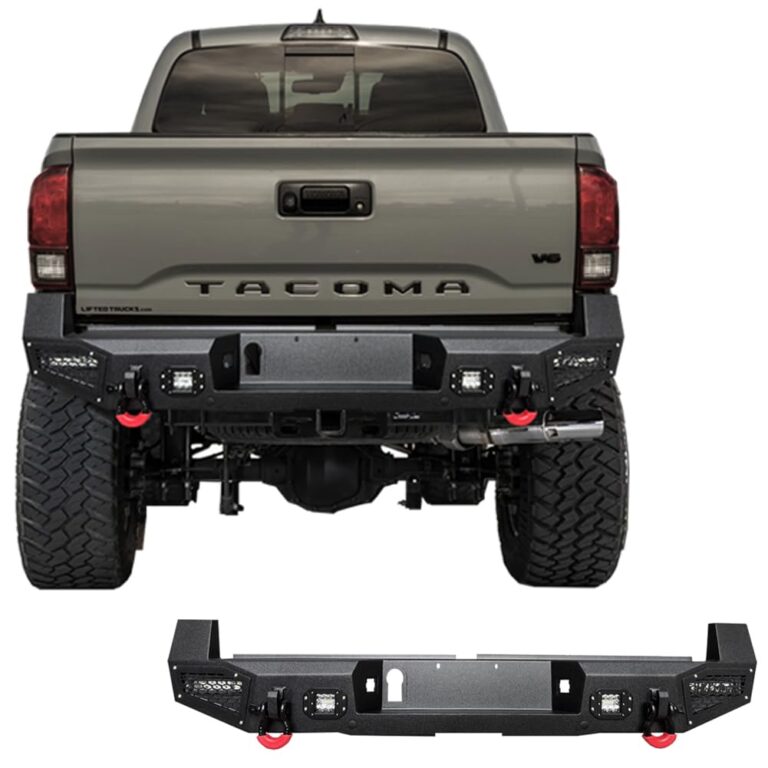
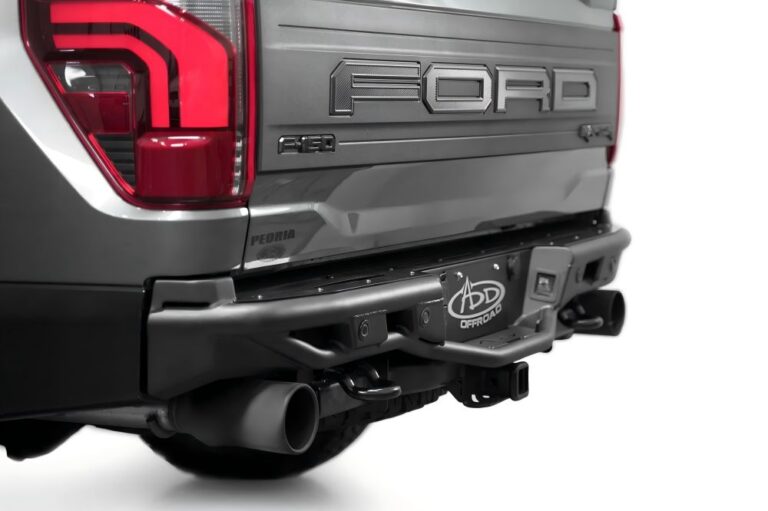
How to Install Car Rear Bumpers: Pro Techniques Revealed
Abstract
According to a study by the Insurance Institute for Highway Safety (IIHS), a properly installed bumper can reduce low-speed collision repair costs by 65%. This article is based on the technical standards of the SAE International Society of Automotive Engineers, combined with the Toyota Repair Manual (cited from Toyota Technical Documents) and the 3M Automotive Solutions Guide (cited from 3M Automotive Guide), and systematically analyzes the 8 core steps of rear bumper installation. Through step-by-step illustrations and key precautions, it helps car owners achieve professional-level installation results.
1. Engineering principles for selecting and matching bumpers
- Model matching verification
- Refer to the certification standards of the National Collision Parts Certification Association (CAPA) of the United States, and use the VIN code to verify the compatibility of accessories in the CAPA query system
- Case: The 2021 Honda CR-V hybrid version needs to pay special attention to the problem of radar hole offset
- Material mechanics selection
- Working condition adaptation analysis of ABS plastic (tensile strength ≥40MPa) and PP polypropylene (temperature resistance -30℃~80℃)
- The American Society of Plastics Engineers (SPE) recommends: Modified TPO materials are preferred in cold northern regions
2. Key elements of pre-installation preparation
- Systematic configuration of tools
- List of necessary tools (quoted from the Snap-on Tool Guide):
- T30/T40 plum wrench
- 10mm hexagonal socket
- Nylon pry bar set
- Laser level calibrator
- Surface pretreatment technology
- Use 3M™ 08984 professional cleaner (refer to 3M technical bulletin) for three-step treatment:
- Alkaline degreasing (pH9.5-10.5)
- Silane coupling treatment
- Compressed air drying (pressure 0.4-0.6MPa)
3. Precision control of core installation process
- Non-destructive disassembly of original parts
- Toyota technical specification TSB-0121-X emphasizes: The disassembly sequence should follow the principle of “from the center to both sides, from top to bottom”
- Harness separation tips: Use anti-static tweezers to disconnect the reversing radar interface (refer to TE Connectivity operation guide)
- Three-dimensional positioning calibration
- Use a laser locator to ensure:
- Longitudinal gap ≤3mm
- Horizontal tolerance ±1.5°
- Radar sensor centering deviation <2mm
- Compound fastening technology
- Gradient fastening according to SAE J933 standard:
- Initial tightening torque 8Nm
- Secondary calibration torque 12Nm
- Final locking torque 15Nm±10%
4. Post-installation verification system
- Functional test matrix
- 5 tests recommended by the American Automobile Repair Association (ASRA):
- Rain sealing test (IPX5 standard)
- 80km/h wind noise test
- Reversing radar false alarm rate detection
- Impact resistance test (5km/h collision simulation)
- Long-term vibration test (20 hours bench test)
Summary
According to the German Rhine TÜV certification data (cited from [TÜV According to the Rheinland report, proper installation can extend the service life of the bumper by 3-5 years. It is recommended to check the gap every 6 months and use a digital torque wrench to tighten the key connection points. For models equipped with ADAS systems, it is recommended to go to an ASE certified repair center for professional calibration. Correct installation is not only a safety requirement, but also an important technical link in maintaining the value of the vehicle.